My Beat-Making Workflow: From Blank Canvas to Finished Beat
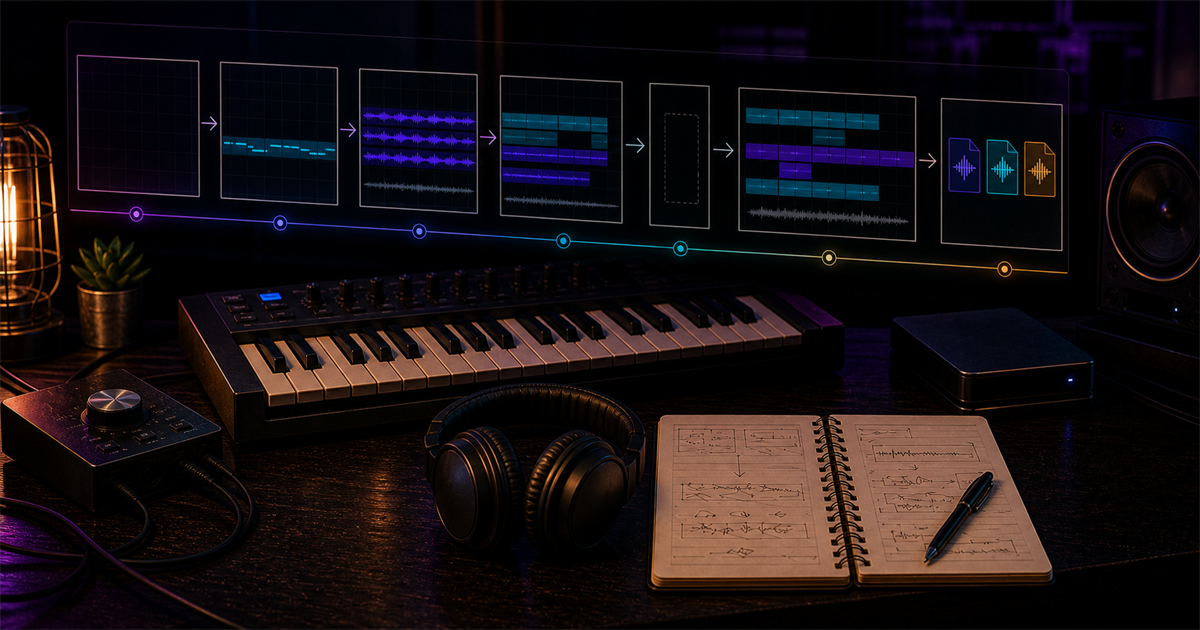
My beat-making workflow is built around one goal: move from a blank FL Studio session to a beat an artist can actually write to. The tools change, the sounds change, but the process stays grounded in quick decisions, clean arrangement, and enough space for the vocal.
Starting a Beat: Melody or Drums First?
Every producer eventually has a take on this. Some swear by drums first — lock in the groove, then let the melody respond. Others, like me, usually start with a melody or a sound that catches my ear. I lean melody first because it establishes the emotional vibe of the beat before anything else.
That said, I break my own rule often. If I'm chasing a specific bounce — something UK Drill or Amapiano-flavored — I'll drop the drums in first and let the rhythm dictate everything that follows. The honest answer is that neither approach is wrong. What matters is that you commit quickly. I give myself the 15-Minute Rule: if a session isn't bouncing after 15 minutes, I save the idea, label it honestly, and start a fresh one. Momentum is a currency in production. Spend it wisely.
When I do start with melody, I'm reaching for a single sound — a piano, a synth pad, or a sample — and playing until something clicks. It doesn't have to be complicated. The most common mistake I see with newer producers is overloading the melody with too many notes. A good beat leaves space. A rapper needs room to live in the pocket, and a cluttered melody fights against that.
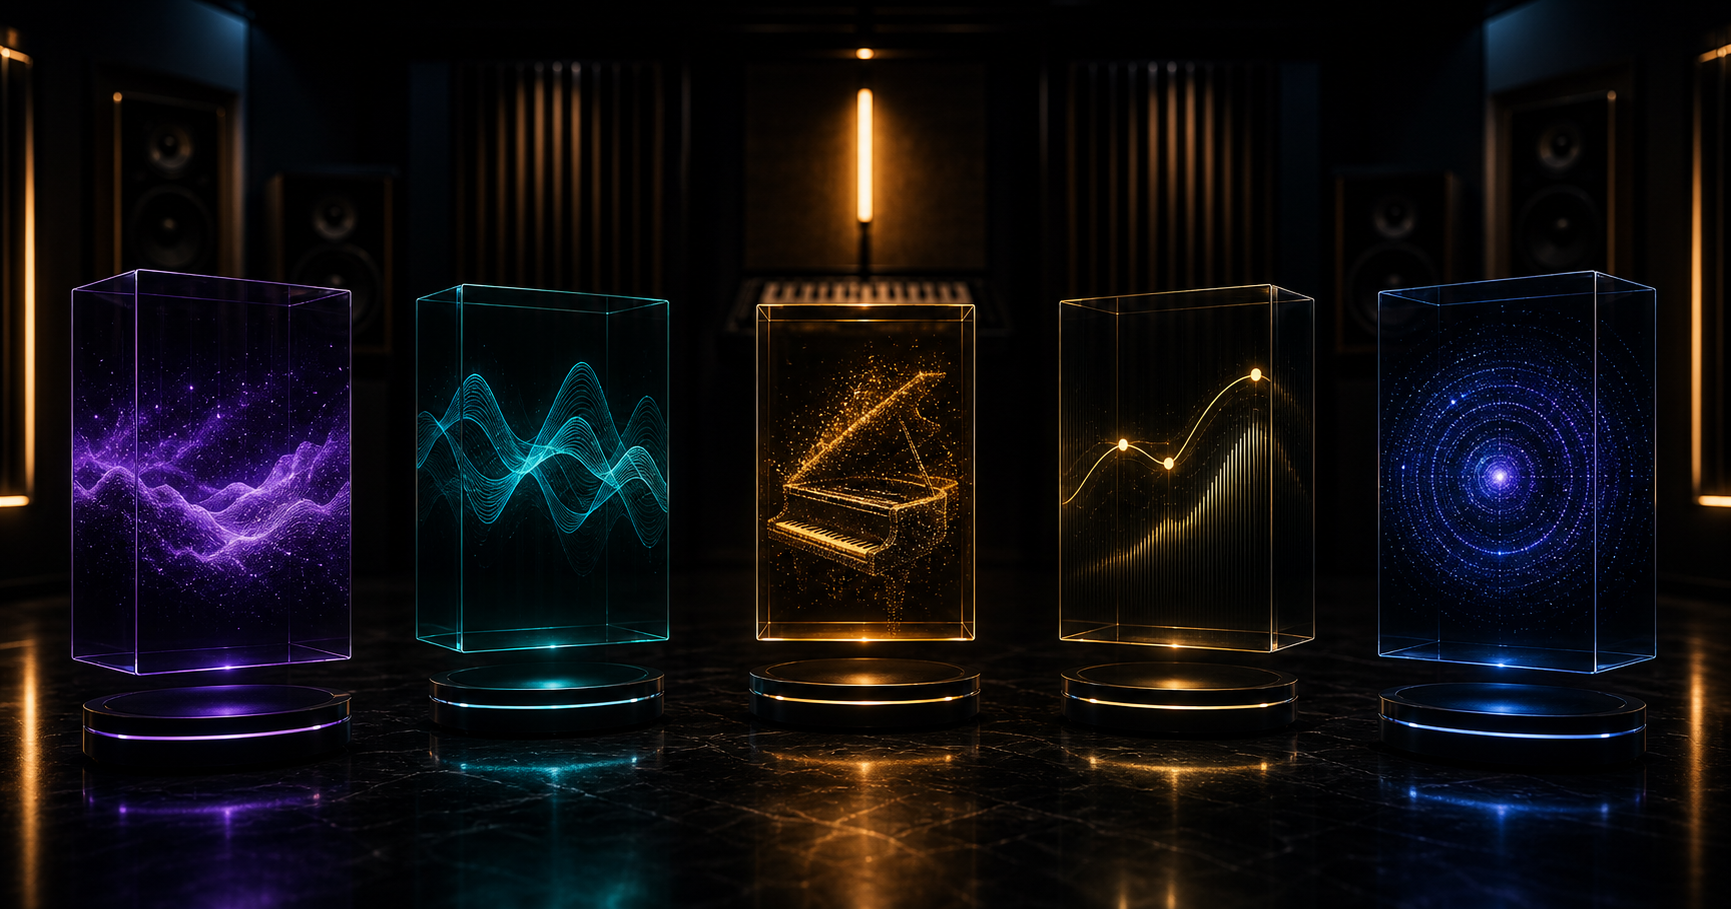
Sound Selection: Finding the Right Sounds
Sound selection is where personality comes in, and it's also where a lot of beginners get stuck. There are huge sample packs and preset libraries out there — Splice offers a massive royalty-free sound catalog — but the producers who stand out are the ones who develop taste, not just access.
My personal rule is the Rule of -6dB: if a sound doesn't hit right without any processing, it won't hit right with processing either. I audition sounds at low volume to hear their natural character before EQ and compression enter the picture. Too many people slap on a limiter hoping to fix a weak sample. It doesn't work that way.
When I'm layering drums, I think in terms of contrast. A dark, slow-attack kick pairs naturally with a bright, fast-attack snare. That pairing creates movement and separation without needing to touch a single EQ knob. The same logic applies to melodies — contrast between warm and bright elements gives a beat dimension. Once I've selected my core sounds, I commit and move to the next phase without second-guessing.
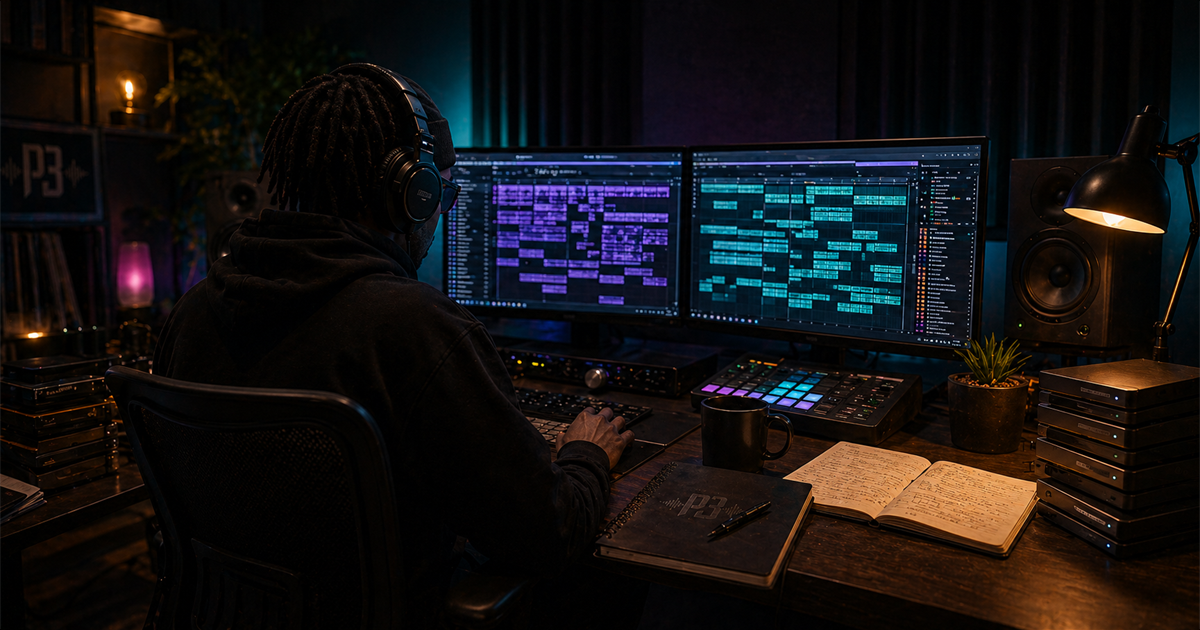
Arrangement: Building Energy and Tension
Arrangement is the section that separates decent beats from great ones, and it's the part most producers rush through. I've done it myself. You get the loop sounding great, you duplicate it for four minutes, and you call it done. But static energy kills a beat.
The rule I live by is the 4-Bar Rule: never let a loop repeat identically for more than four bars. Something has to change — a hi-hat pattern, a counter-melody, an extra snare hit, anything. Subtle variation keeps a listener locked in without them consciously noticing why.
One of my favorite tricks is what I call the Hollow Drop — muting all drums for one full bar right before the chorus or hook section hits. The silence creates anticipation. When the drums crash back in, the impact is doubled. It's a simple move but it works across nearly every genre I produce, whether that's trap, drill, or melodic hip-hop. You can hear this kind of movement across many Plutony Beats arrangements because it gives artists a clean moment to reset their delivery.
The other arrangement concept worth internalizing is genre contrast: starting with a warm acoustic or R&B loop and transitioning it into distorted 808s or hyperpop energy within the same track. Genre crossover in arrangement is what makes a beat feel cinematic. It tells a story before a single word is rapped.
Mixing the Beat for Vocals
I mix every beat with a vocalist in mind, even when selling instrumentals. The reason is simple: a beat that competes with vocals will never get used by an artist who knows what they're listening for.
The biggest mixing habit I've built is midrange scooping on heavy synths and pads. I cut somewhere in the 300Hz-1kHz range on anything sitting in the low-mid frequencies. That carved space is where the vocal fundamental lives. If my synths are occupying that zone, the vocal will fight to be heard no matter how loudly it's recorded.
The other technique I apply consistently is Mid-Side EQ. Bass and kick live in mono — they need to be centered and grounded. Melodies, hi-hats, and atmospheric elements can be wide. A common mistake is running a stereo widener on an 808 or kick drum. That wrecks translation to mono. On phone speakers and club systems, a wide kick disappears. Keep the low end tight.
I also protect headroom on the master. My target is between -3 and -6dB on the master fader before export. Any hotter than that and I'm eating into the headroom a mix engineer will need when an artist brings the track to a real session. Proper headroom signals professionalism immediately because the beat arrives ready for vocals instead of already pinned to the ceiling.
Exporting and Preparing for Sale
Exporting is the part of the workflow most tutorials skip, but it's where a beat officially becomes a product. For every finished beat I export three versions: a tagged MP3 for streaming and previewing, an untagged WAV for basic lease buyers, and a stems package for exclusive or premium buyers.
The WAV always goes out at 24-bit, 44.1kHz. This is standard for professional sessions and what any decent recording studio expects. I name the file clearly: BPM, key, and title. Something like 140_Fmin_GlassRain_PlutonyBeats.wav. That naming convention makes it easy for producers, artists, and engineers to identify what they're working with at a glance.
I write a short description for each beat before it goes live — BPM, key, mood, and suggested use case. This isn't just marketing copy. It's functional information that helps the right artist find the right beat. Over five-plus years of selling beats through Plutony Beats, I've learned that a clearly described beat sells faster than a vague one, even if the vague one is technically better.
The full beat-making workflow from blank canvas to listed beat takes me anywhere from 45 minutes to three hours depending on complexity. The goal is never speed or length — it's arriving at something that feels finished, not just filled. Before you call your own beat done, test it like an artist would: play it from the top, mark where the vocal enters, where the pause lands, and where the hook needs to lift. If you need a reference for that exercise, pick one finished arrangement from the Plutony Beats catalog and map its section changes next to yours.
Found your sound?
Browse premium beats crafted for artists like you.
Tags
Related Posts
How I Made 800+ Beats: Lessons from Years of Producing
I didn't get my first placement until beat #450. Here's what those years taught me about consistency, workflow, and surviving the grind.
The Tools I Use: My Current DAW, Plugins, and Setup
FL Studio, Omnisphere, Serum 2, and a minimal desk setup — here's every tool I actually use to make beats in 2026.
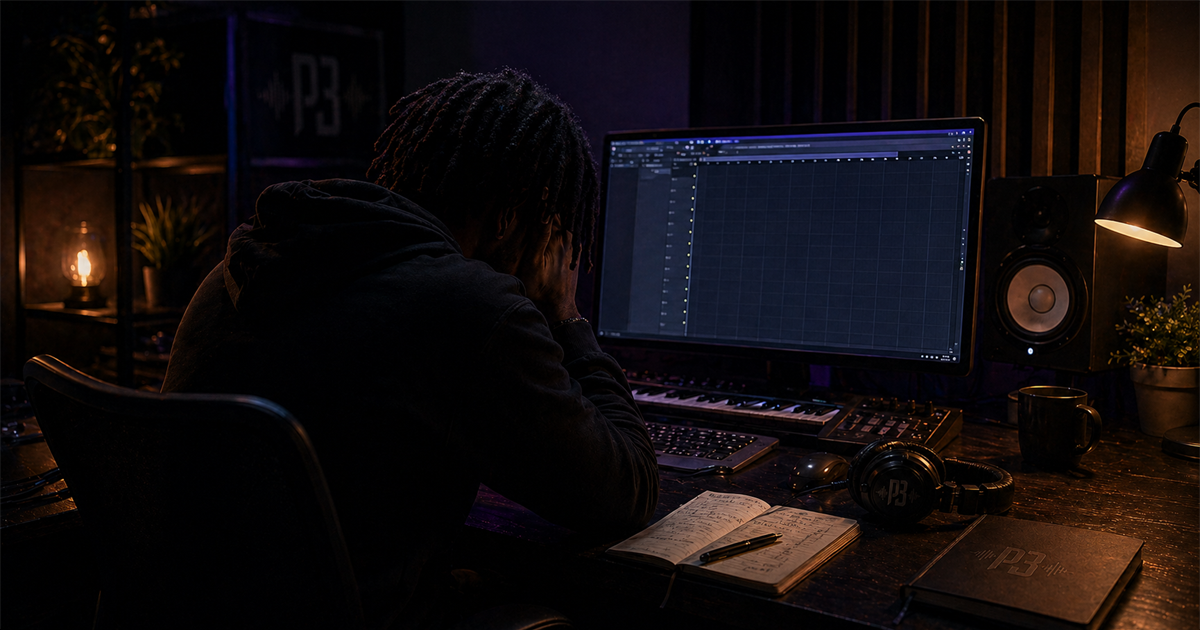
Producer's Block: How I Deal With Creative Slumps
Every producer hits a wall. Here's how I navigate creative slumps, stay motivated, and turn bad sessions into something useful.